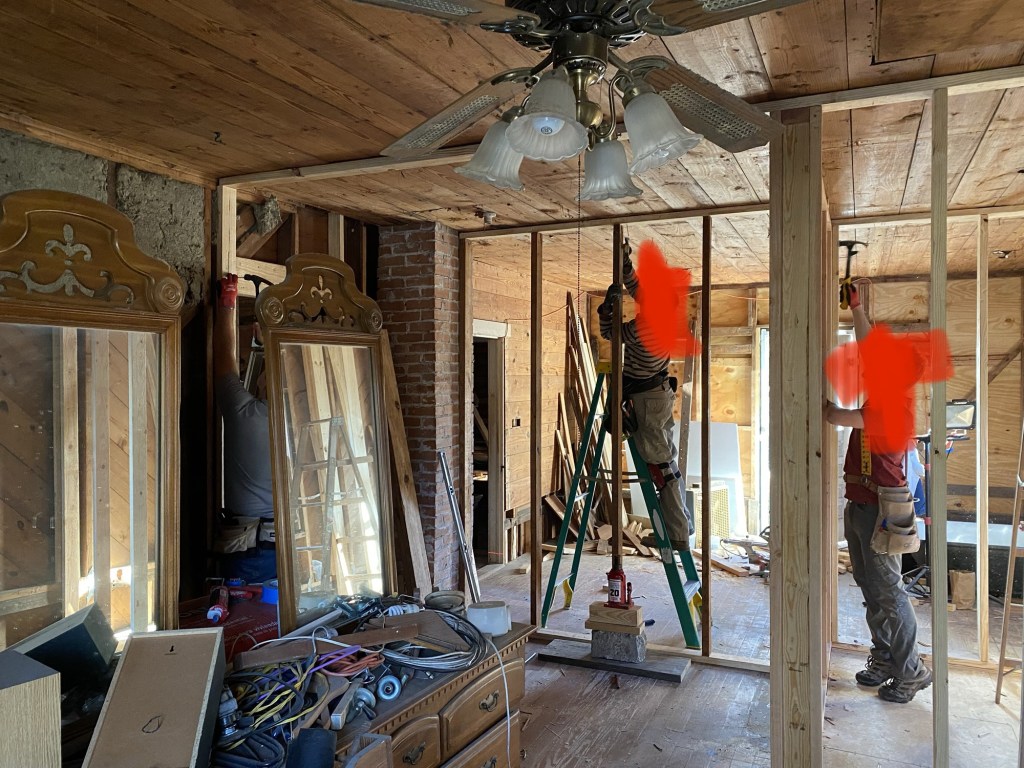
After adding some new beams in the entry way, we started working on the 2 story part. This morphed into a bigger project than I thought it would be!
First we took all the shiplap off the ceiling and walls, and took out the old bathroom walls. We added some temporary support where the bathroom wall used to be.
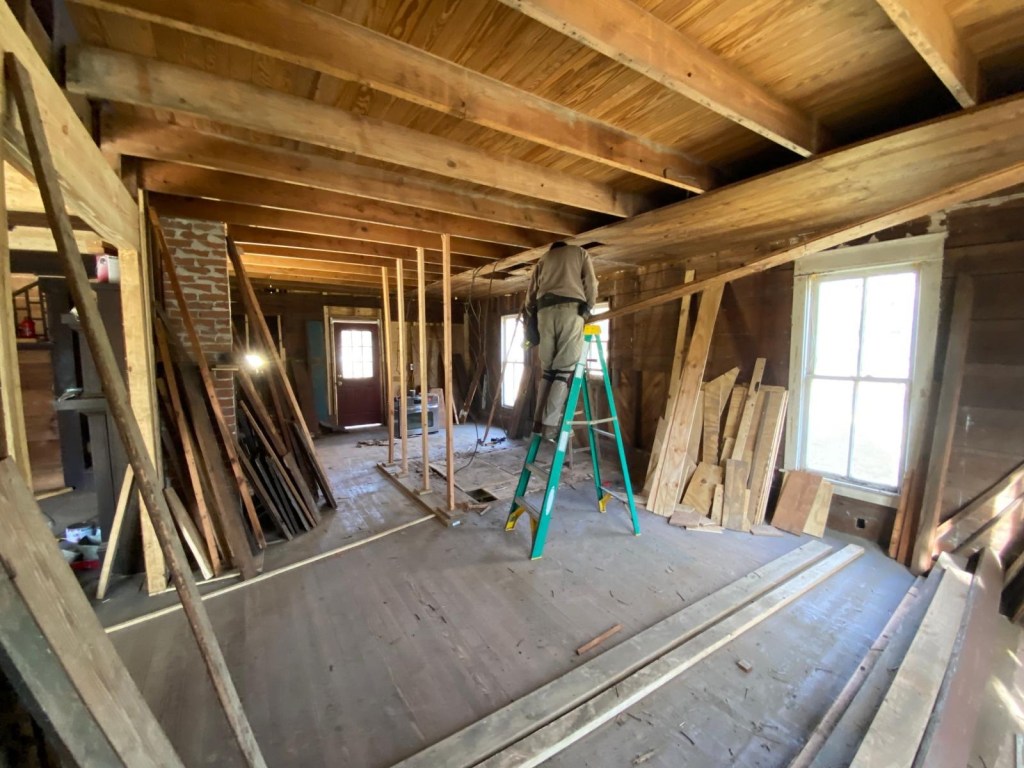
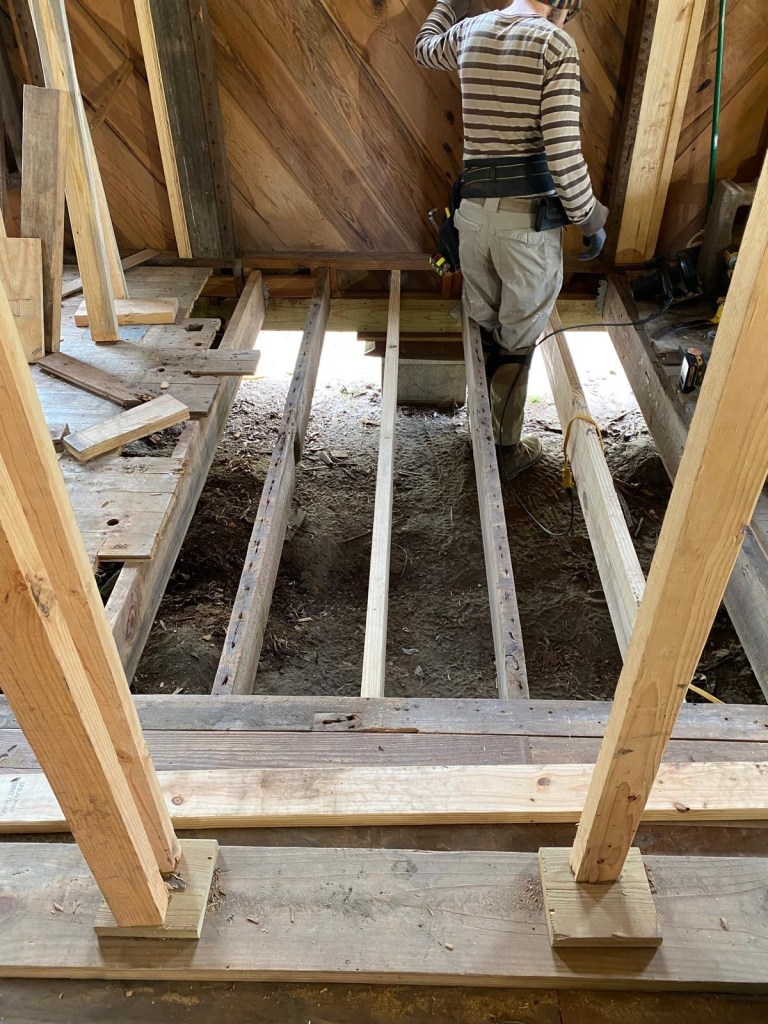
The upstairs floor was very bouncy, so we needed to reinforce it. We added 5 new beams! Each beam was made of 3-2×12’s, 15 feet long. They were HEAVY! It was fun watching this first beam go up!
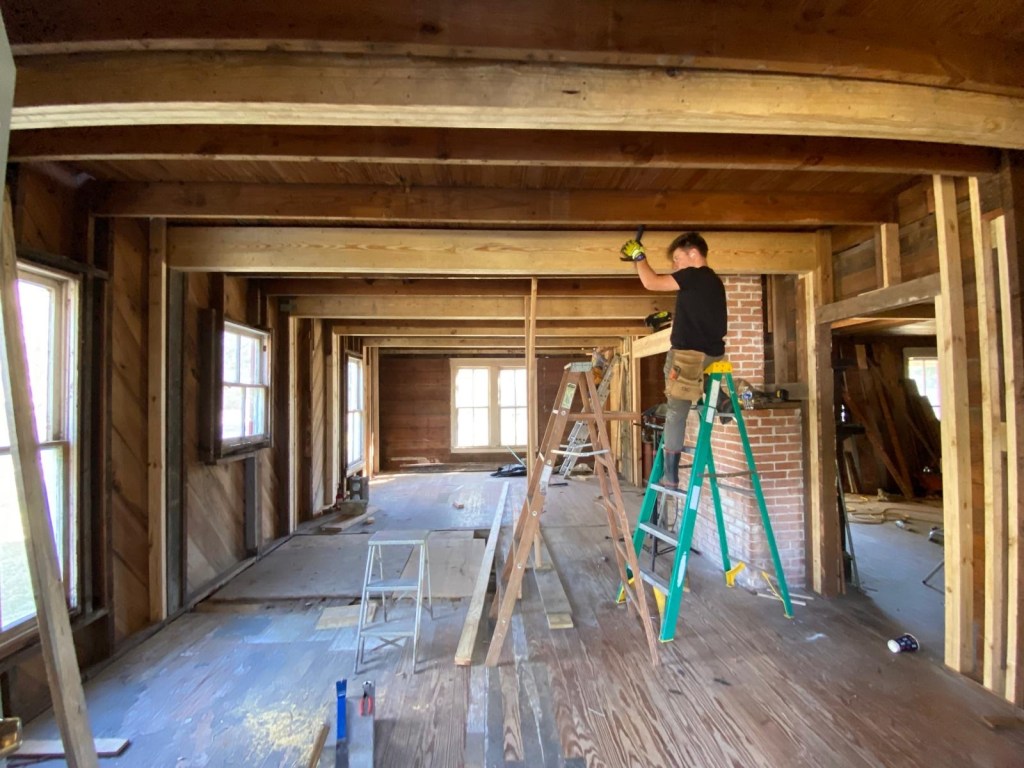
Once the beams were all nailed in place, we could remove the temporary support for the bathroom.
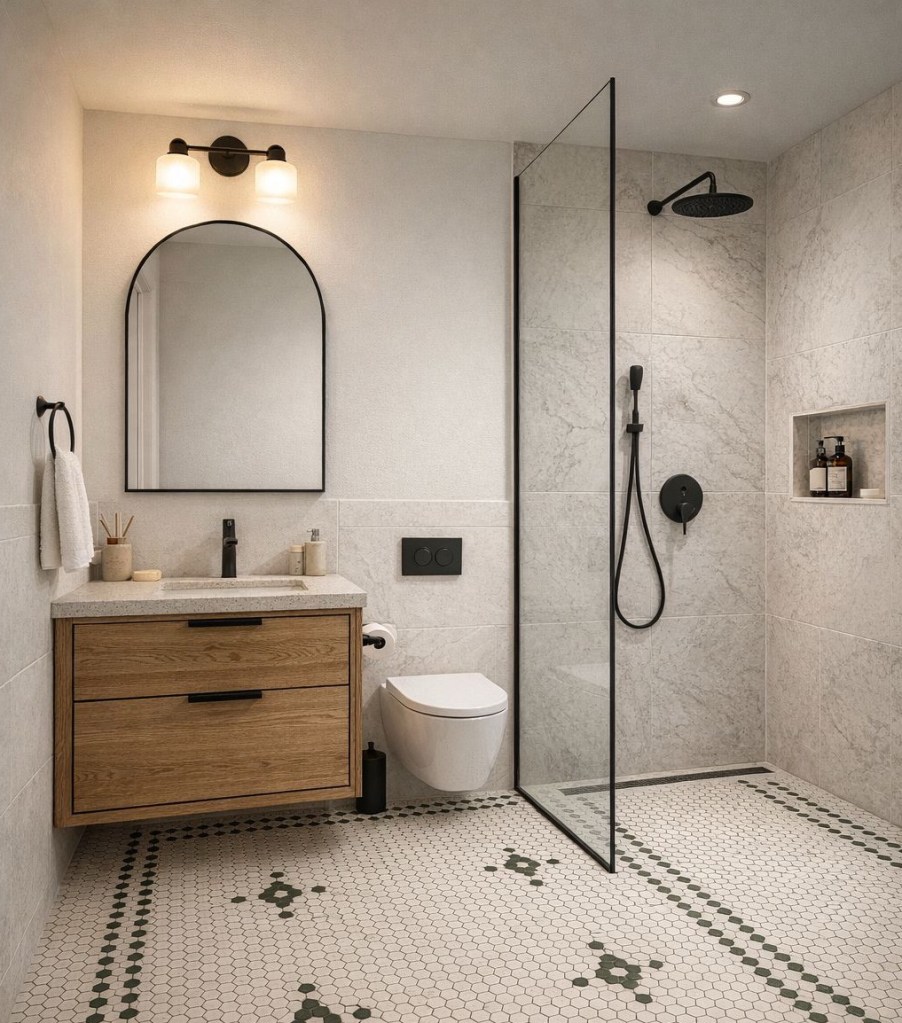
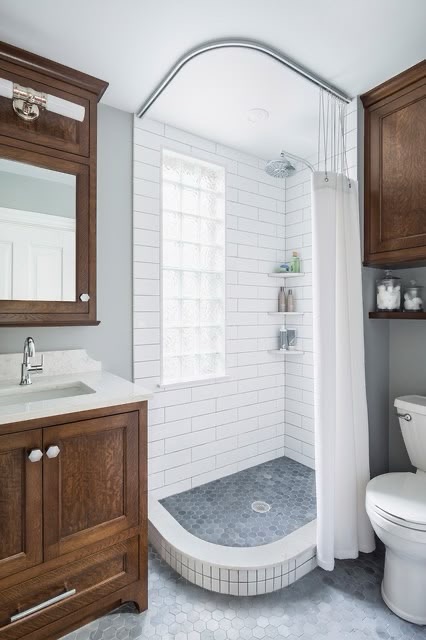
The next project was the bathroom floor. This is going to be a pretty small bathroom, so to make it feel bigger, it’s going to be a “wet room”, meaning the whole bathroom slopes towards the drain, and there is no shower curb. We’re also planning to do an in-wall toilet and a wall hung vanity. (Our toilets just came this week!)
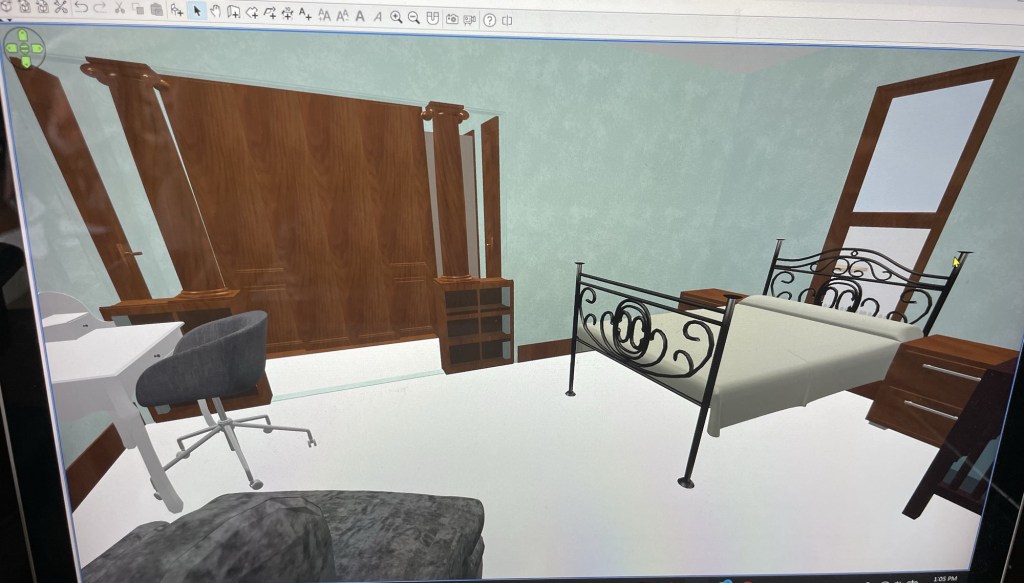
Here’s an AI rendition of what we’re thinking for the bathroom. We found a very good deal on some pretty green and creamy white Daltile on marketplace a long time ago, so we’re designing our bathroom around that.
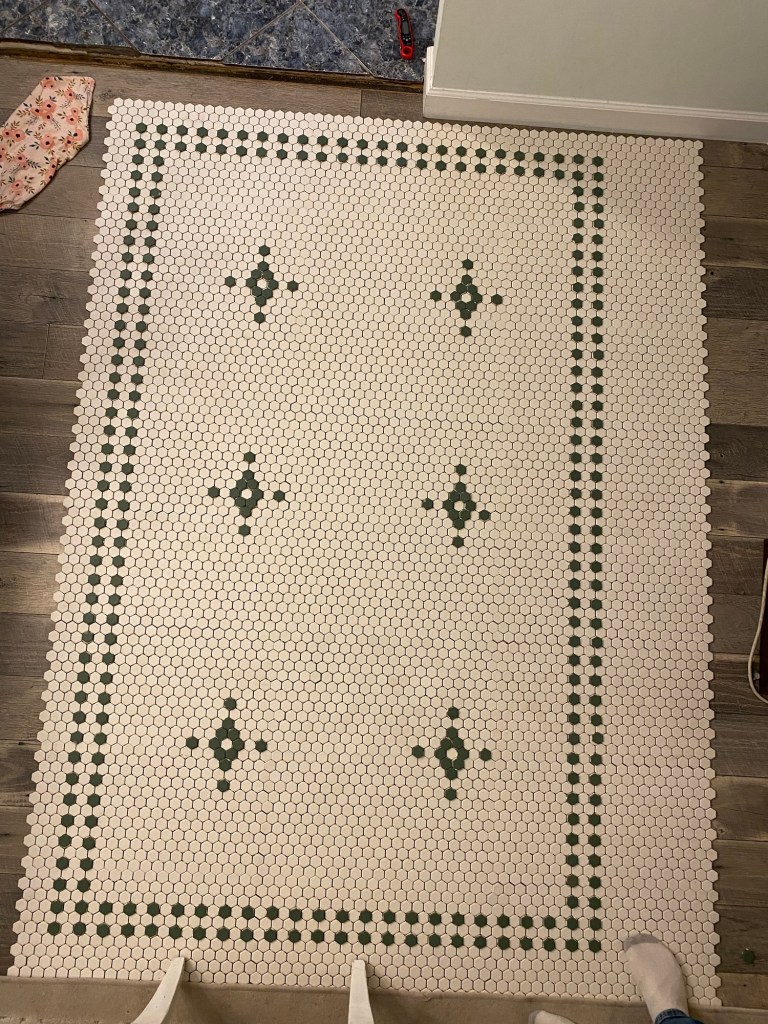
This is our tile, and the pattern we plan to do. (The AI rendition has the pattern going the wrong direction, and it’s missing a window in the shower, and a door, but you get the idea!) 🙂
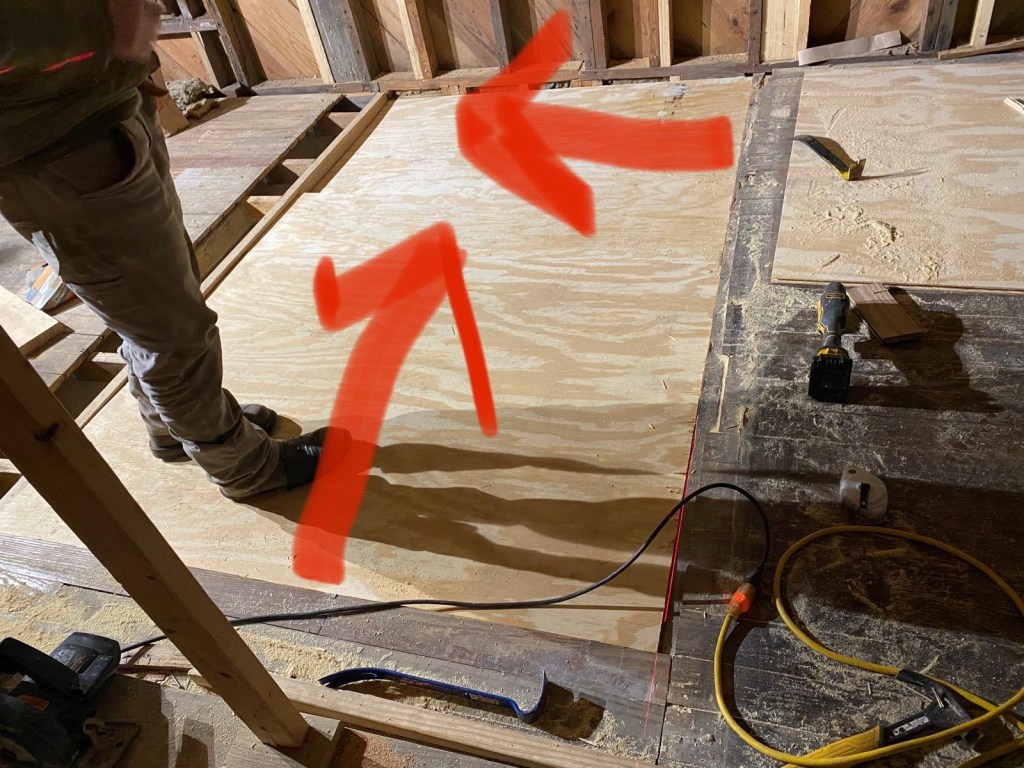
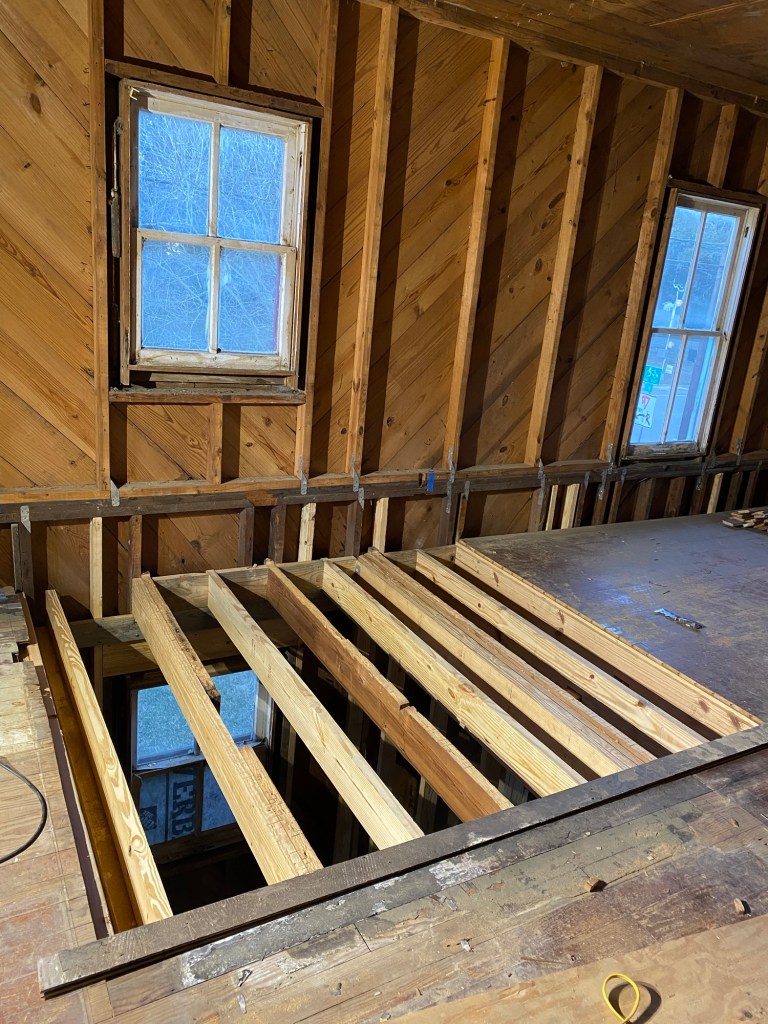
So, back to framing. First we added new floor joists. We spaced them 12” apart since this will be a tile floor.
Next we had to taper the joists down. We want the tile floor to be flush with the wood floor, so we had to set it down lower to start. The floor slopes down to the shower area, from south to north, and then the shower area itself is also sloping from east to west. I’m glad J is good at math because those were some difficult equations! If you look along the left side you can see the slope most clearly.
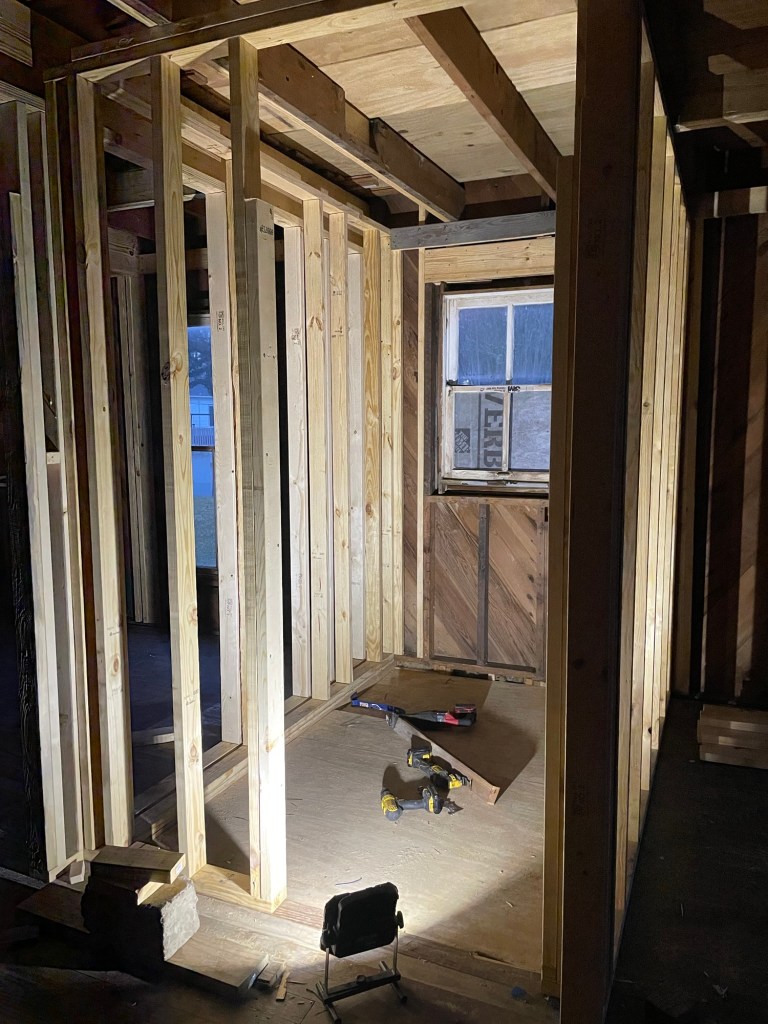
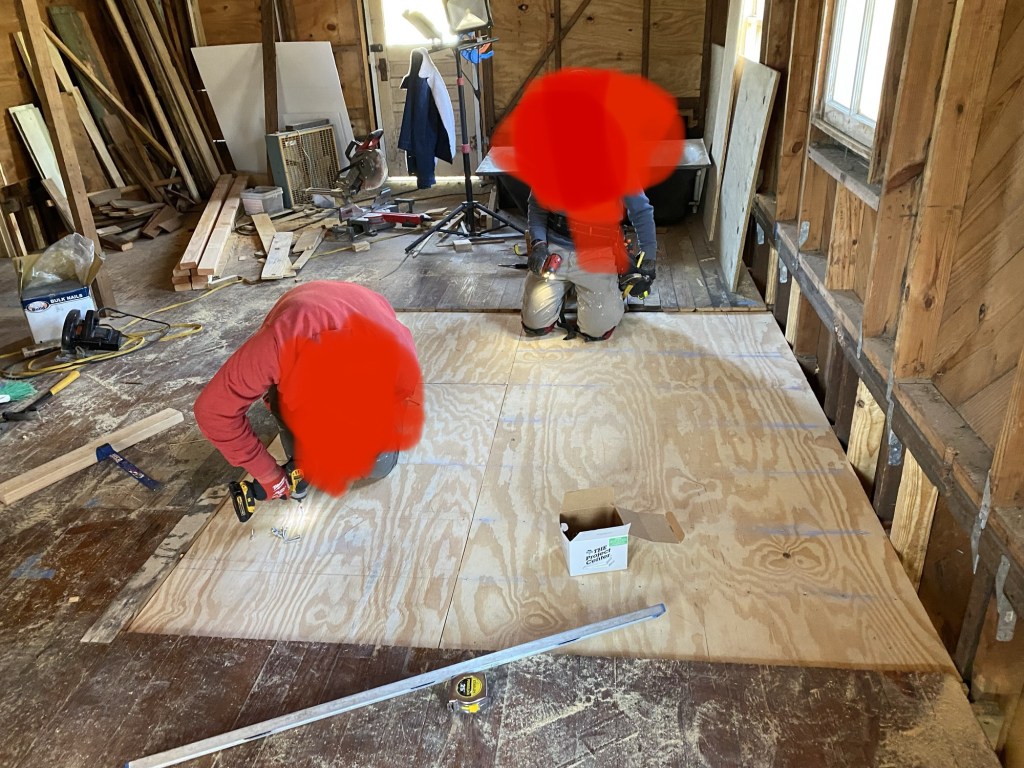
After the subfloor was installed, we started on the bathroom walls. There was other framing that had to be re-done, like the bathroom window.
And, here it is all framed out!
After we finished the downstairs bathroom, we moved upstairs! All the shiplap came off the walls. We moved the solid cast iron tub, (how that didn’t come crashing down over the years is a mystery!)
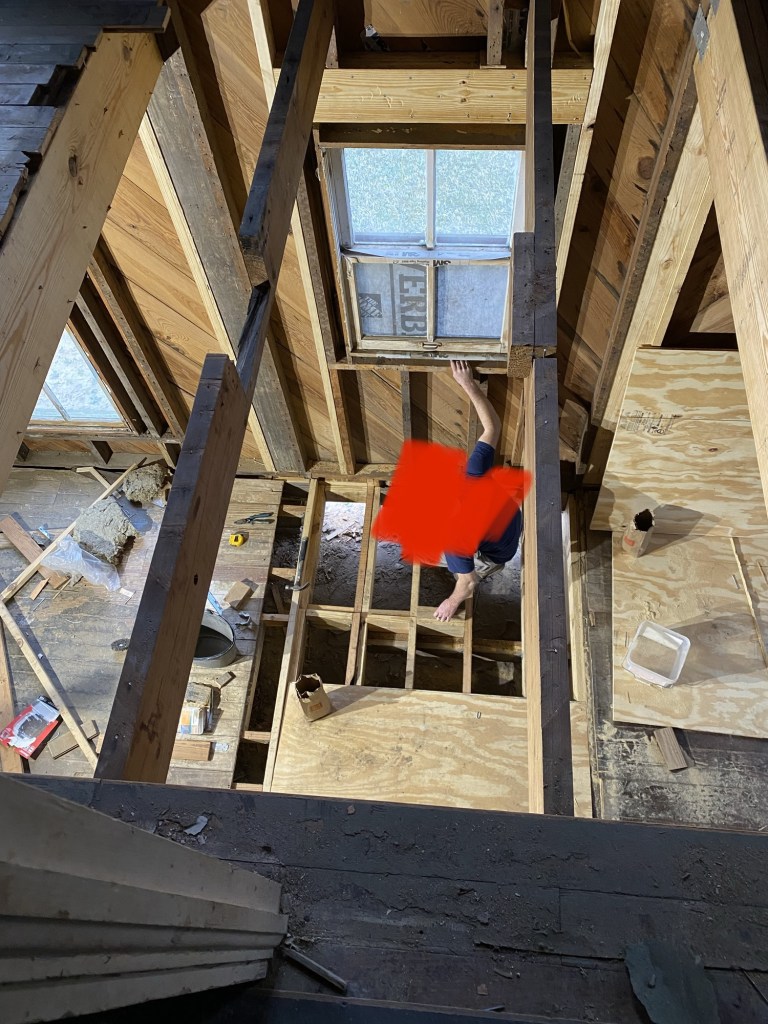
We repaired/ added new floor joists, added subfloor, and put up the new walls! This subfloor was easier because it’s not going to be a wet room, so no complicated sloping.
In case you’re thinking the amount of joists doesn’t add up from the last picture, you’re right. We cut the flooring back to make the bathroom 2 feet wider.
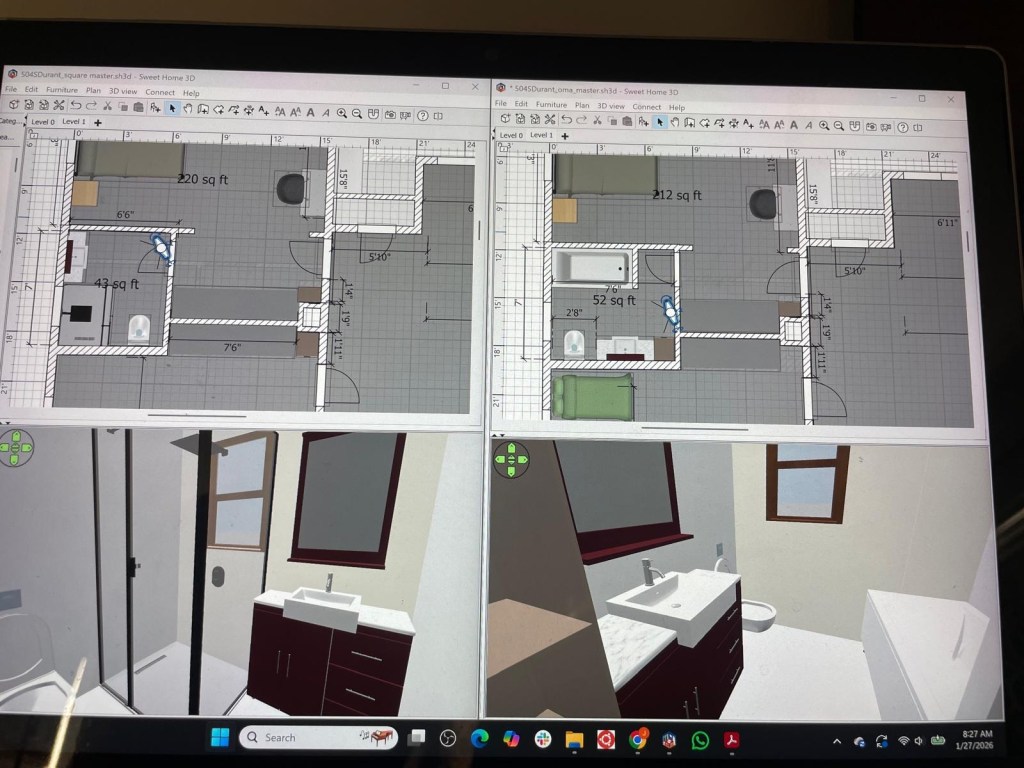
However, the complicated part was that we had to figure out our whole upstairs floor plan before we could frame the master bathroom.
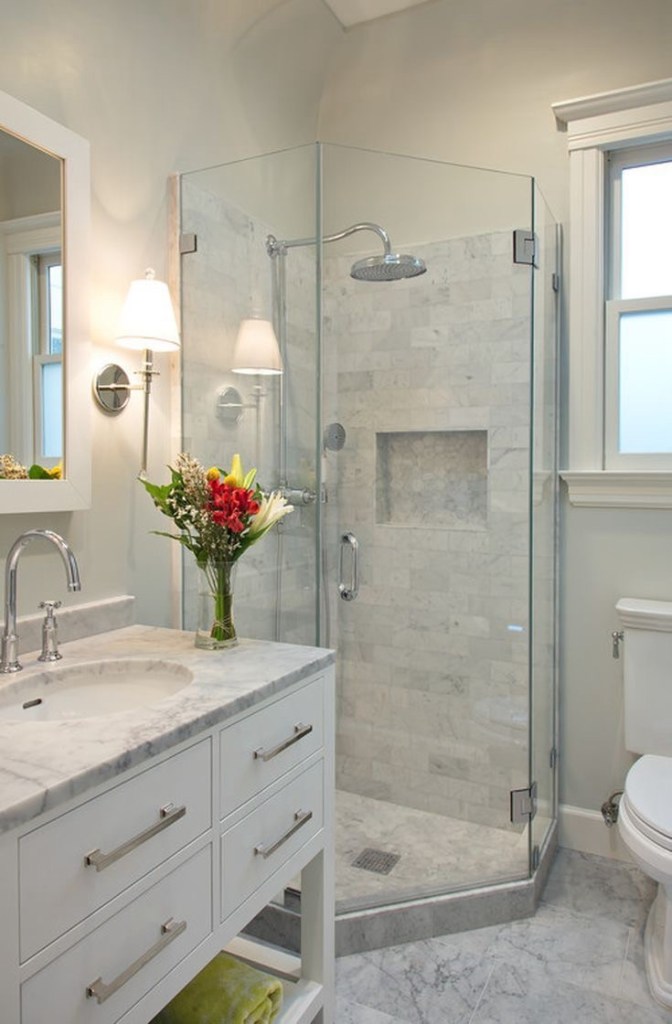
After countless drawings and 3d models, we settled on a plan that checked almost all the boxes. I was hoping to fit a tub in, but we would have had to sacrifice either wall space in the bedroom, or closet space. So, we settled on a bigger-than-average corner shower, which allowed us to keep a bedroom wall usable, and a good amount of “reach in/ built in” closets.
This is the overall floor plan for the master bedroom, bathroom, and closet space:
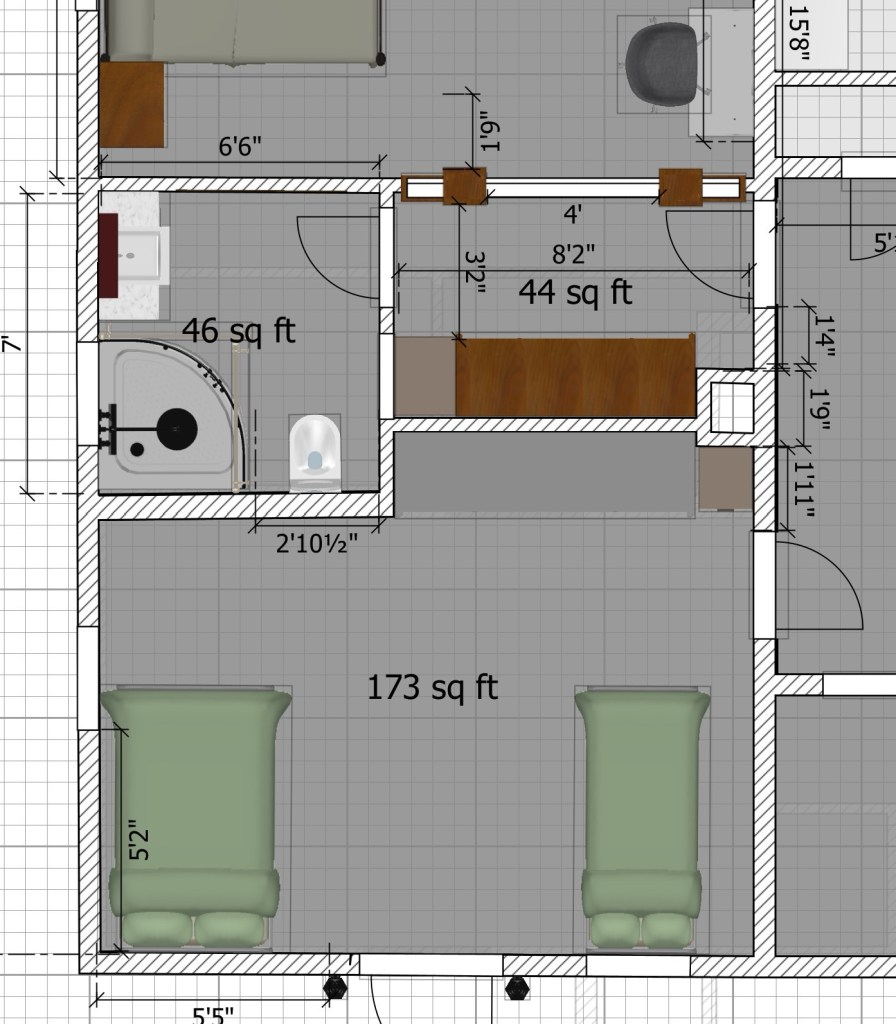
These were the top 2 floor plans. The left is what we decided on. The other option gave us a tub, but it reduced the overall closet space to less than what we currently have (which isn’t much!) There isn’t going to be room to have a LOT of closet space, but we will have another closet just outside of the bedroom that we can use for out-of-season items, etc.
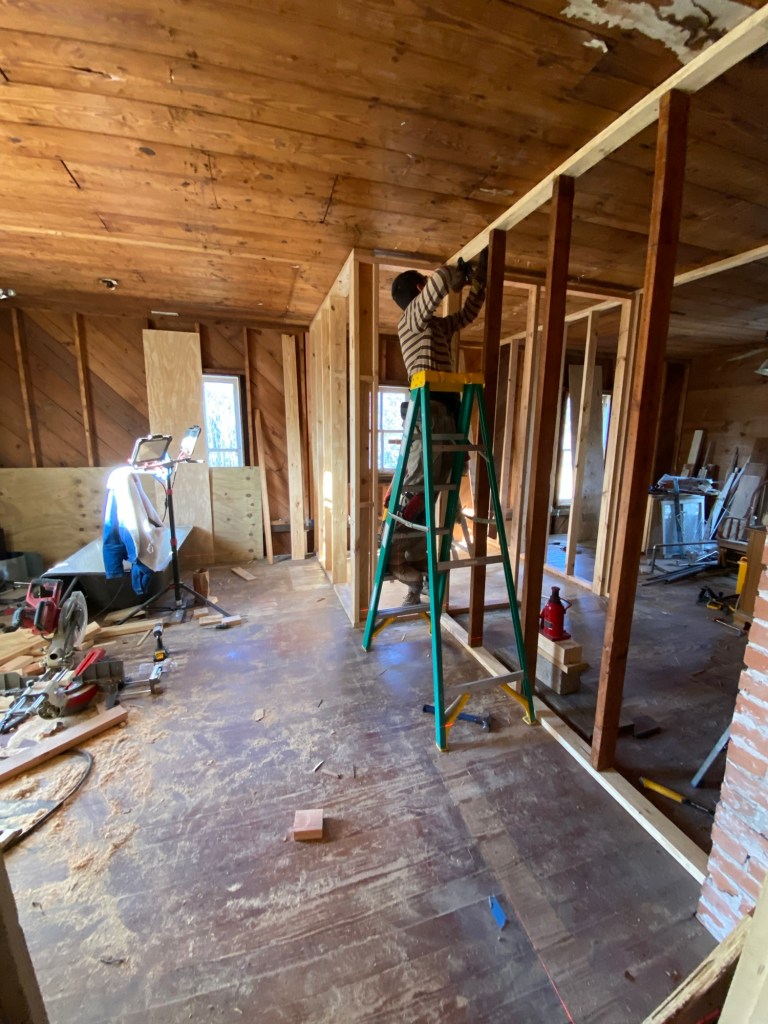
Well….back to reality. Here’s our nicely framed walls!
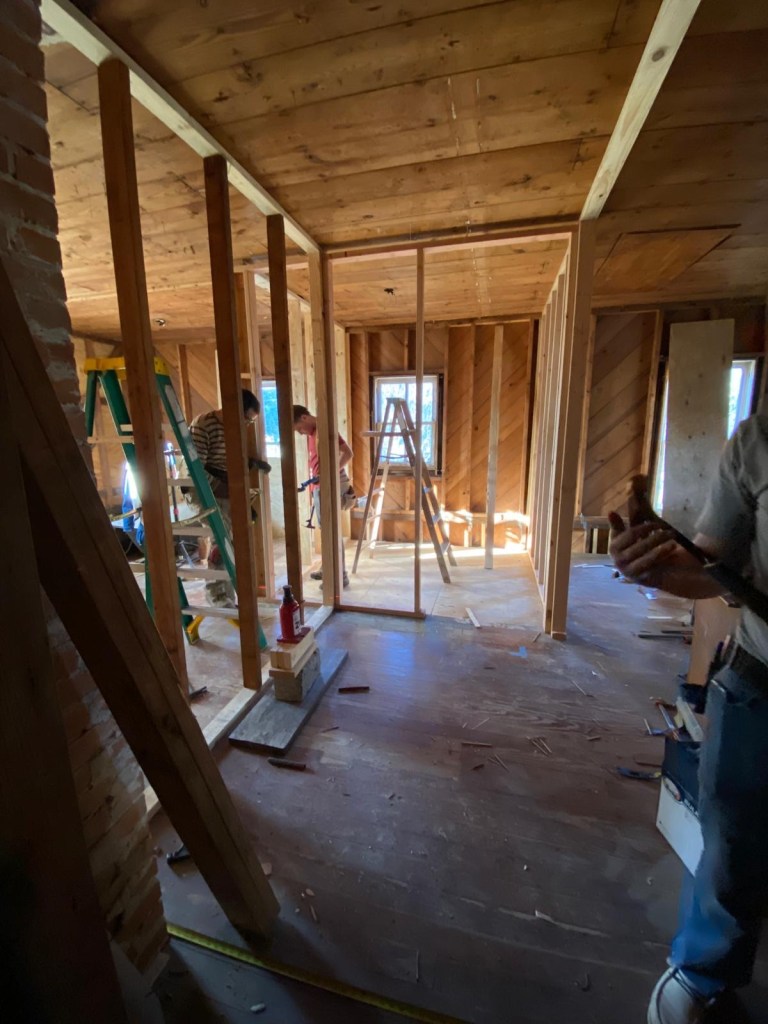
And, the other side.
Next up: Attic framing, siding removal, and more sheathing!

Leave a comment